My hard drive recently started showing bad sector warnings, and file access has become slow and unreliable. I’m looking for safe disk repair tool recommendations for a drive with bad sectors, plus advice on whether I should try repairing it or focus on backing up and replacing the drive.
If there’s anything on the drive you care about, don’t start with “repair.” Start with getting the data off it.
As long as Windows can still see the drive, even if it only shows up in Disk Management or asks you to format it, copy what you can first. A lot of repair tools write changes to the file system, partition table, or damaged areas of the disk. That can be fine for a healthy drive with a logical error, but on a failing drive it can make recovery harder.
Also, “disk repair software” is a pretty broad category. Some apps are for recovering files. Some are for checking the physical condition of the disk. Some try to rebuild partitions or deal with file system damage. I wouldn’t expect one tool to be the best at all of that.
The three I’d look at are these:
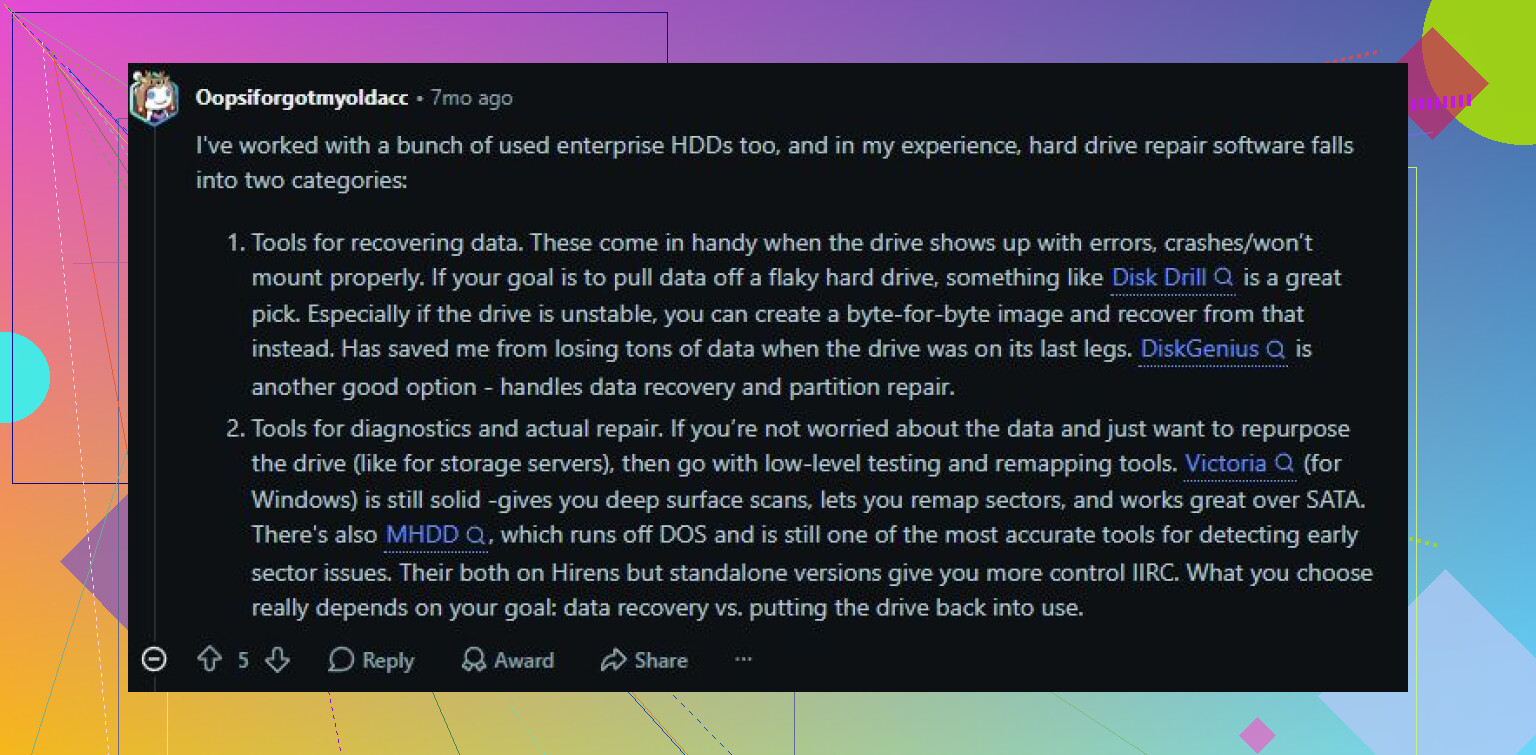
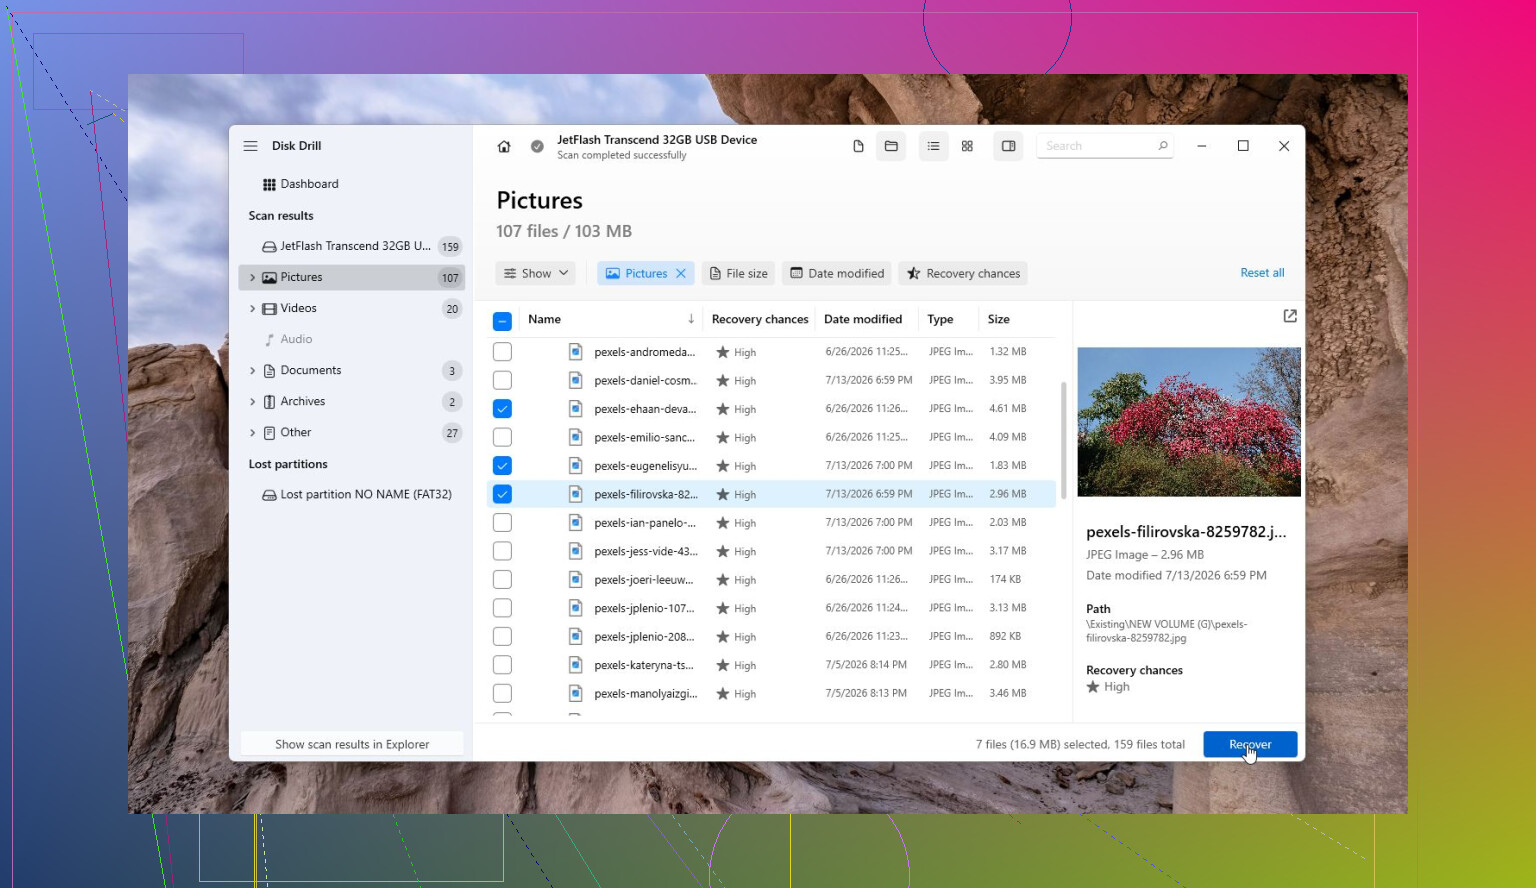
Disk Drill is the one I’d try first if the goal is file recovery. It’s useful when a drive turns RAW, Windows says it needs to be formatted, or files have vanished. The safer approach is usually to recover the data before trying to fix the drive itself. It can also create a byte-to-byte image, which matters if the drive is unstable, because you can work from the copy instead of beating up the original. The S.M.A.R.T. monitoring is a nice extra, too.
Pros
- Pretty simple to use.
- Good for RAW, formatted, and corrupted drives.
- Can make an image of a failing drive before recovery.
- Includes drive health monitoring.
Cons
- It’s not meant for repairing partition tables.
Victoria HDD/SSD is more of a diagnostic tool, especially if you suspect bad sectors. If the drive is crawling, freezing, or acting inconsistent, Victoria can run surface scans, show weak or slow sectors, and attempt remapping. It’s not as beginner-friendly, but it gives you a much clearer picture of what’s actually wrong with the disk. Just don’t treat remapping like a real fix for physical damage. It mostly tells the drive to avoid bad areas.
Pros
- Free.
- Strong bad sector and surface scan tools.
- Can remap unstable sectors.
- Shows detailed S.M.A.R.T. data.
Cons
- Takes more effort to understand.
- Not for recovering deleted files.
Hard Disk Sentinel is what I’d use to decide whether a drive is still trustworthy. It watches S.M.A.R.T. data, temperatures, sector counts, and other warning signs. It’s more of a monitoring and prevention tool than a repair tool, but that’s useful if you’re trying to figure out whether an older HDD should stay in service or be replaced.
Pros
- Very detailed health reporting.
- Good early warning system for failing drives.
- Works with HDDs, SSDs, USB drives, and RAID setups.
Cons
- Doesn’t recover files.
- Doesn’t fix corrupted partitions.
If the drive has bad sectors, clicks, drops offline, hangs during reads, or the S.M.A.R.T. stats keep getting worse, don’t waste a day throwing repair utilities at it. Recover the important files, then replace the drive. Software can help with logical problems, but it can’t undo physical wear. And if the drive isn’t detected at all or is making obvious mechanical noises, stop using it and consider a professional recovery service before the data is gone for good.
17 Likes
Bad sectors are usually a replacement warning, not a repair project. You might be able to get the drive readable long enough to copy data, but I wouldn’t plan on “fixing” it and putting it back into normal use.
I agree with @mikeappsreviewer on imaging first, but I’d be extra careful with Windows tools here. Running chkdsk /r on a drive that is already struggling can take forever and keep hammering weak areas. It may clean up file system errors, but it can also leave you with less recoverable data if the disk is physically failing. Same goes for tools that promise to “repair bad sectors.” They usually force reads/writes or trigger remapping. That is useful after your files are safe, not before.
My order would be: stop using the drive for normal work, copy the most important files first if they are visible, then make an image if the drive is still stable enough. After that, use recovery software against the image, not the original disk. Disk Drill is reasonable for that kind of file recovery workflow, especially if the drive has gone RAW or folders are missing, but I’d treat it as a recovery tool rather than a magic repair button.
After you have the data, check SMART values with something like CrystalDiskInfo or Hard Disk Sentinel. If you see reallocated sectors, pending sectors, or uncorrectable errors increasing, retire the drive. A drive with growing bad sectors is cheap to replace compared with the time you’ll waste babysitting it.
Do not run a full surface repair pass until you know whether the drive is getting worse by the hour.
A lot of “bad sector repair” advice skips the boring part: bad sectors are not all the same. If Windows is reporting file system damage because the machine crashed or lost power, repair tools can help. If the media is physically failing, repair tools mostly make the drive read the same weak spots over and over. That is when people turn a half-readable disk into a disk that disappears during boot.
I agree with the general direction above, but I would be even more selective about what you copy first. Don’t start by dragging the whole user folder if the drive is stalling. Copy the stuff that cannot be replaced first: documents, photos, project files, password database, tax files, whatever matters. Leave Steam libraries, downloads, installers, and Windows system folders for later. A failing drive can waste six hours retrying one movie file while your important small files are still sitting there uncopied.
A practical order I’d use:
- Stop booting from that drive if it is the system disk.
- Connect it as a secondary drive, preferably through a stable SATA connection if possible. USB docks are convenient, but a flaky dock or weak power brick can make a bad drive look worse.
- Copy the highest-value files first.
- If the drive keeps freezing, image it instead of browsing it in Explorer.
- Run recovery software against the image, not the original, if you can.
- Only after the data is safe, run diagnostics or repair attempts.
For tools, my split would be pretty simple. CrystalDiskInfo is fine for a quick health check. smartctl is better if you are comfortable with command line stuff. Disk Drill is reasonable if you need a friendlier recovery app and especially if you are scanning an image or trying to recover from a RAW/corrupted volume. I would not treat it, or any similar tool, as a bad-sector fixer. It is for getting files back.
For imaging a rough drive, GNU ddrescue is still the tool I’d trust more than normal cloning software, because it can skip bad areas and come back to them instead of getting stuck forever at the first ugly patch. It is not as friendly as a Windows app, so there is a tradeoff. If the data is very valuable and the drive is making noises, dropping offline, or taking minutes to show up, that is the point where DIY becomes a gamble.
Be careful with chkdsk /r. People recommend it constantly because it sounds like the right command, but it is a heavy read test plus file system repair. On a healthy disk with logical damage, fine. On a dying disk, it may spend ages grinding through weak sectors. chkdsk /f is lighter, but I still would not run it before copying or imaging anything important.
The hidden annoyance is that a “successful repair” can give a false sense of safety. Windows may mark bad clusters so the file system avoids them, or the drive may remap sectors internally, and everything looks normal for a while. That does not mean the surface stopped degrading. If pending sectors, reallocated sectors, or uncorrectable errors show up at all, I’d replace the drive. If those numbers increase, I would not even use it for backups.
So yes, use tools, but use them in the right role. Recovery first, diagnosis second, repair last. If the files matter more than the cost of a new drive, assume the disk is already on borrowed time.
Expect the drive to be disposable, even if a tool gets it readable again for a while.
Small but important detail: whatever you use, including Disk Drill, don’t recover files back onto the same bad drive. Use a separate healthy disk with plenty of free space, because writing recovered data to the failing drive can overwrite what you’re still trying to save.