Trying to save some large video files to Google Drive but I’m unsure of the steps. I’ve never uploaded a video before, and I want to ensure it goes smoothly without losing any quality. Any help or guidance?
Adding Videos to Google Drive: A Guide for Seamless Storage
Imagine you’ve just created a fantastic video—maybe it’s a mini-documentary, a cherished memory, or even content for your latest project—and now you’re trying to figure out the best way to store and share it safely online. Google Drive is a remarkably popular choice, but if you’re looking for a smoother, more enriched experience, I’ve got a tip that might just change the game for you.
Let’s break this down step by step.
Getting Those Videos on Google Drive
Alright, so Google Drive: the go-to cloud storage tool that practically everyone with a Gmail account also swears by. Uploading a video isn’t rocket science, but a few smart tweaks here and there can make the process even better.
-
Log into Google Drive: Always step one. Head over to Google Drive and sign in.
-
Find the Upload Option: You know where the magic happens—it’s that colorful plus symbol or the “New” button on the top-left side of the interface. Click it and select “File Upload” if you’ve got a single video or “Folder Upload” for multiple projects.
-
Choose Your File: Navigate to wherever you’ve saved your video on your device. Whether it’s an MP4, MOV, or AVI file, Google Drive pretty much eats them all up.
-
Wait or Watch: The upload bar will feature progress. Time to put on some lo-fi beats and relax. Or, if it’s super-fast, barely time enough to sip your coffee.
-
Sharing and Accessing: Once uploaded, just right-click the file, share it with individuals or groups by email, or generate a sharable link if you prefer universal access (don’t forget to set permissions!).
A Smarter Way: Syncing Like a Pro
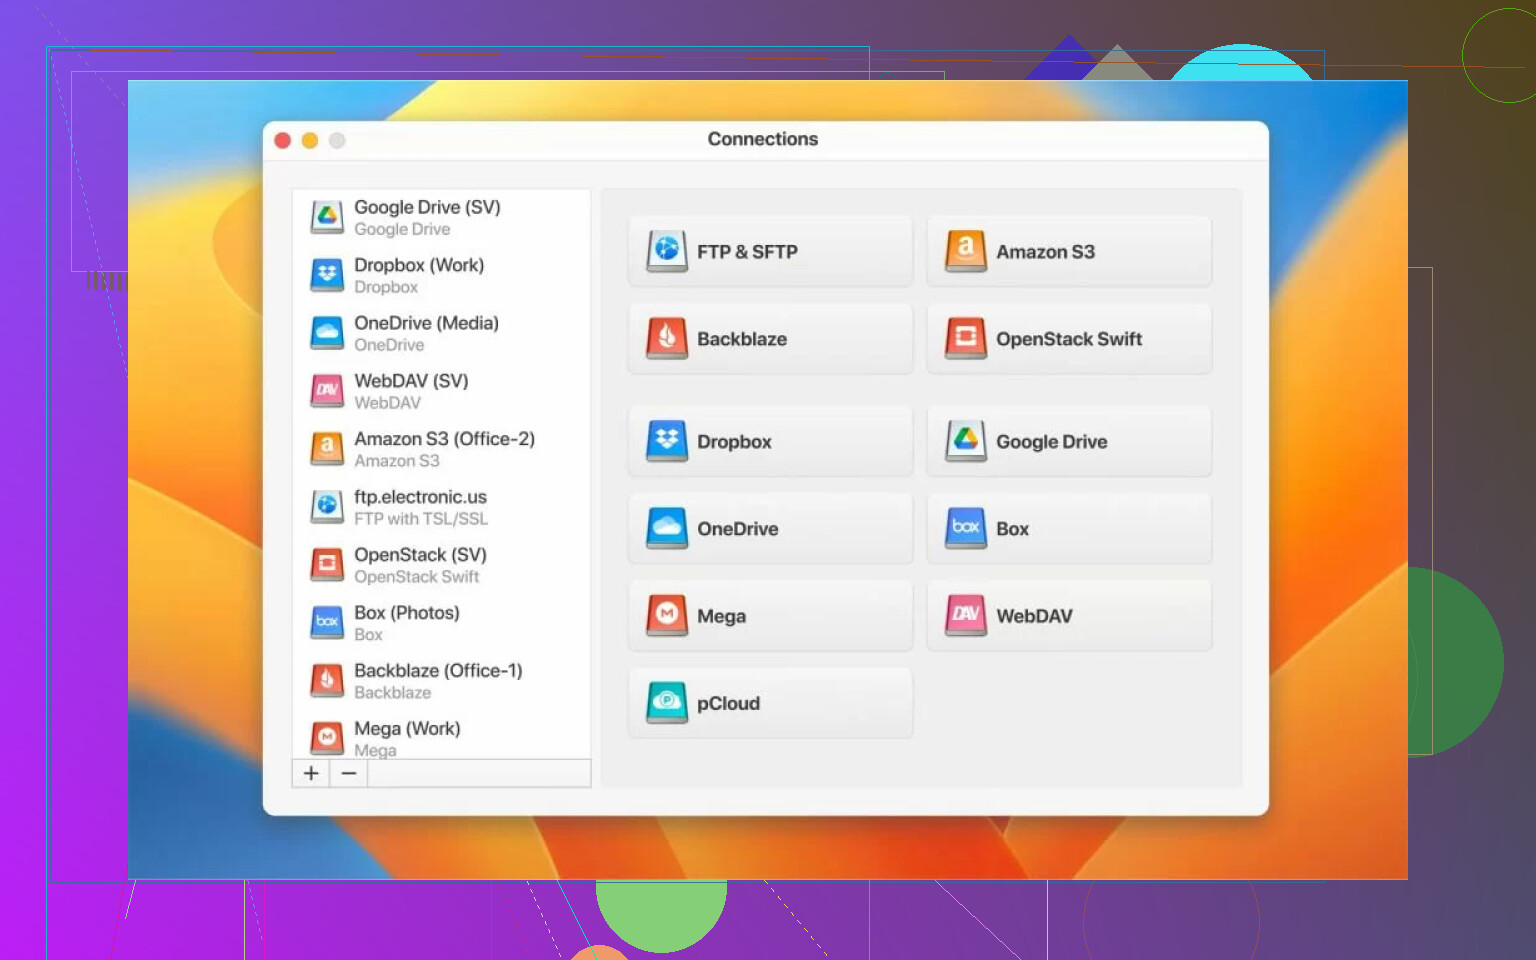
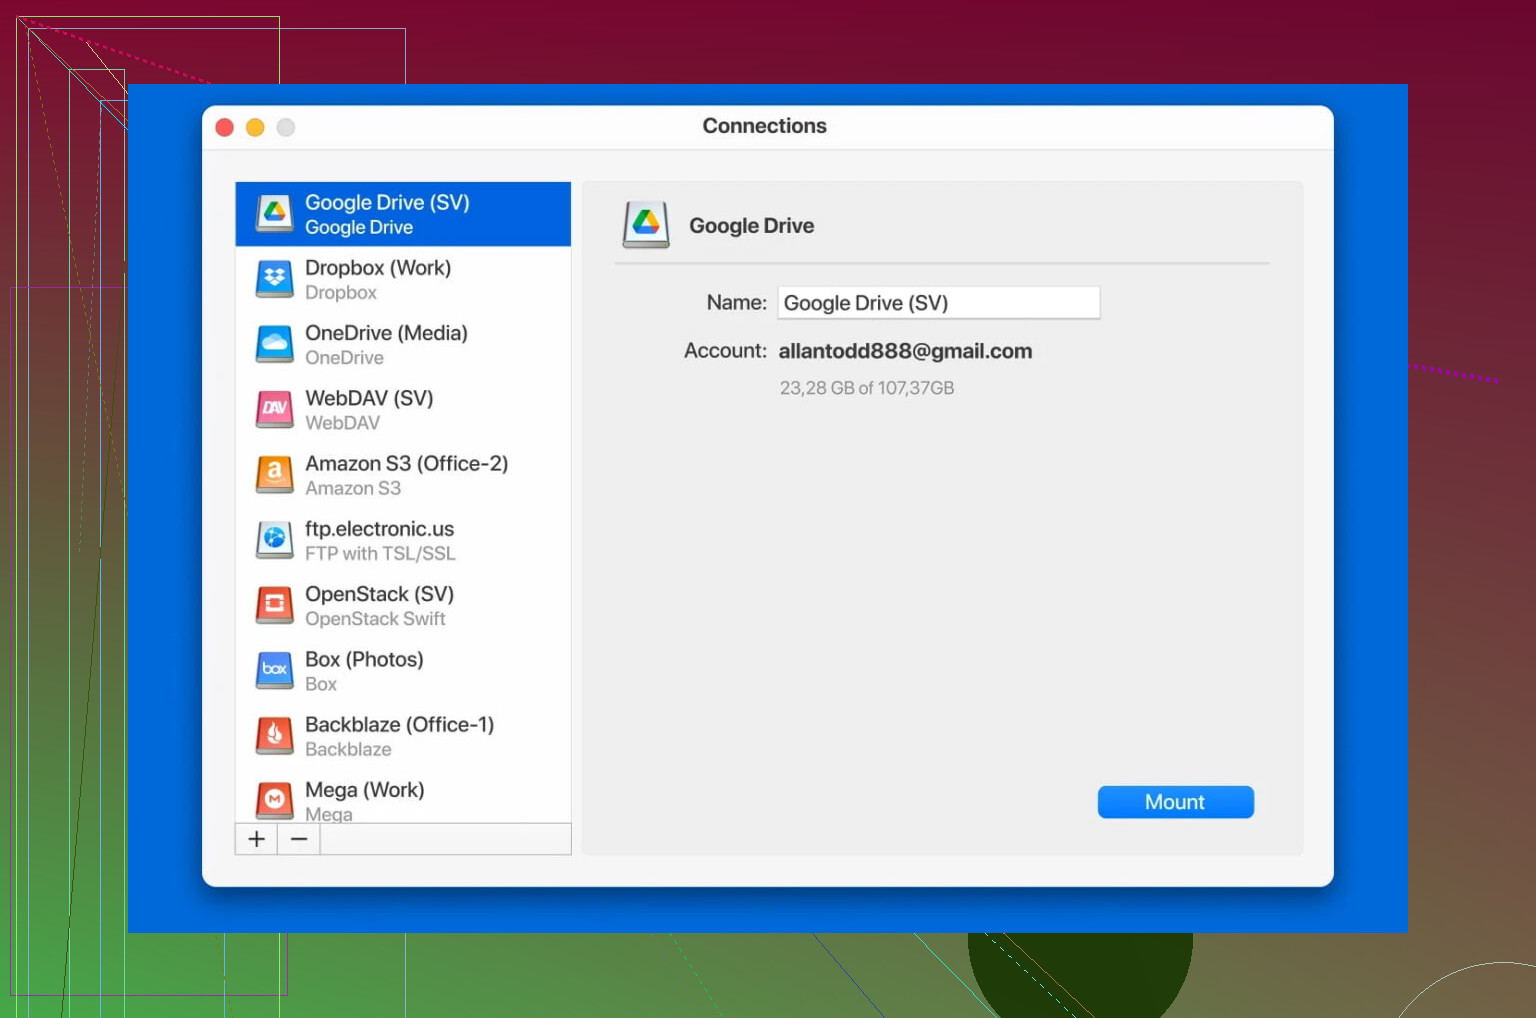
Uploading videos on Google Drive gets tricky if you’re managing several platforms or multiple gadgets. Ever feel like you’re stuck in a chaotic cycle trying to balance your cloud storage? Here’s a potential lifesaver—CloudMounter.
Wait, hang on. What’s CloudMounter? Let me set the scene for you.
You know how tiresome it is to constantly open browser tabs for Google Drive? How annoying it gets when you need to access different drives or cloud tools? CloudMounter is like having your virtual butler for cloud storage. It basically mounts Google Drive (and other cloud accounts) directly onto your computer, so it feels like you’re working with local folders instead of navigating through slow upload/download processes.
Why CloudMounter Makes a Difference
-
Intuitive Access: Just open up your computer (Windows or Mac), and Google Drive appears as if it were a drive built into your device. Need to drag a video over? One smooth move and you’re done.
-
Offline Work: Ever been halfway through editing or uploading something and, BAM, your Wi-Fi dies? With CloudMounter, you can work offline and let everything sync when you’re back online.
-
Secure Your Files: CloudMounter uses data encryption, making it an ideal sidekick if you’re storing sensitive video files—think intellectual property, personal projects, or confidential data.
-
Streamlined Workflow: No more flipping between your local drive and a browser window. Everything stays where it’s convenient.
A Real-World Take
Say you’re an indie filmmaker running on tight deadlines. You’ve been shooting for days and editing like a night owl. It’s 2 a.m., and sleep isn’t an option, but uploading your final draft to share with the producer? Absolutely necessary. Suddenly you realize logging into Google Drive’s webpage and dealing with the traditional upload just feels… clunky.
Enter CloudMounter. Drag your video directly from your editing software or local folder to the mounted drive, and you’re done. No browser lag or frustration. Plus, if you’re bouncing between projects stored on Dropbox, OneDrive, or Google Drive, CloudMounter has you fully covered by supporting multiple services seamlessly.
In Conclusion
Adding videos to Google Drive is functional, sure, but why settle for ‘functional’ when there’s a way to enhance how you organize and access your files? If you’ve been looking to save yourself time while upping your workflow game, apps like CloudMounter can completely revolutionize your approach to online storage.
So, dive in, upload those killer videos, and consider mixing tools like CloudMounter into your process to make it feel less like work and more like a breeze. You’ve got this!
2 Likes
Uploading videos to Google Drive is pretty straightforward—it’s essentially a drag-and-drop process with a tad bit of waiting depending on your file size and internet speed. But, let me save you some potential headaches (and maybe bandwidth rage moments). Some basics you need to nail down:
-
Compress if Necessary: If your video files are massive, consider compressing them before upload. Use tools like Handbrake to shrink it down without seriously compromising the quality. Google Drive doesn’t typically butcher video quality, but uploading raw 4K footage might take hours—days even, depending on your Wi-Fi.
-
Mobile Uploads: If you’re using your phone, the Google Drive app makes it pretty painless to upload. Tap the ‘+’ button, choose ‘Upload,’ and select your video from the gallery. Done. But beware—if your mobile data plan is more stingy than a buffet dinner with a 10-minute timer, you’ll wanna switch to Wi-Fi.
-
File Types Matter: Google Drive can handle most formats like MP4, MOV, or even weird ones like WMV. But if you’re rockin’ something ultra-niche, consider re-exporting it beforehand. Avoid surprises after waiting hours just to find out, “Oops, unsupported format!”
-
Speed Issues? Pause & Play: Upload taking forever? Cancel, restart, or clear browser cache. Also, test your router—it might be ghosting you. Google Drive can be a bit temperamental at times with large files; patience is key unless you have a fiber connection or a direct line to Google’s servers (if only…).
Now, @mikeappsreviewer went all fanboy on CloudMounter earlier—it’s probably not a must-have unless you deal with mountains of cloud files daily or lie awake at night wishing your Google Drive acted like a local hard drive. But I’ll admit, for seamless syncing and less fuss, it’s a gem. If that piques your interest, check out streamlining your cloud game. The offline access part? Chef’s kiss.
For standard use though, Google Drive by itself is plenty efficient. Unless you’re a creative pro with 300GB of wedding footage or a movie producer uploading daily cuts, you’re good with the regular browser-based or app uploads. Simple, free, and less overwhelming.
Uploading videos to Google Drive doesn’t have to feel like a quest for the Holy Grail. Here’s a quick rundown that might simplify things for you, and yeah, I’ll throw a little shade at those overcomplicating it (cough competitors cough).
-
Log in: Head to Google Drive. If you’re not already logged in, use your Gmail credentials. If you’ve gotten this far and still feel lost, we might need to have a different conversation.
-
Find that “New” button: Top left of the screen—click it. From there, hit File Upload or Folder Upload if you’re dealing with a bunch of videos. Honestly, folder upload is a lifesaver when you don’t want to babysit individual files.
-
Select and upload: Locate your video files on your device and let Google Drive take it from there. Yes, it supports plenty of video types like MP4 and MOV, so don’t overthink compatibility unless you’re working with something obscure from 2002.
-
Double-check quality: Uploaded videos usually retain original quality (if you haven’t hit Drive’s free storage limit). FYI, you may want to upgrade your storage plan or compress files for efficiency if they’re massive.
Now, let’s keep this spicy. While @mikeappsreviewer swears by a smooth Google Drive upload experience, let’s not pretend it’s flawless. If you’re multitasking or relying on flaky Wi-Fi, this process can feel like being stuck in a digital molasses. Believe me, jumping between tabs for uploads feels prehistoric.
Here’s where apps like CloudMounter swoop in to save the day. Picture this: Google Drive and other cloud accounts mounted directly onto your computer as if they’re just another folder. No browser hassle, no login clutter. You drag, drop, done. It’s like turning online storage into an extension of your desktop.
Final note: The traditional way works if you’re patient, but if multitasking is your jam, getting extra tools might save you time (and sanity). Whatever route you choose, avoid uploading your masterpiece on that dodgy coffee shop Wi-Fi. Trust me.
Alright, uploading videos to Google Drive can be both straightforward and a little limited depending on your needs. While @mikeappsreviewer and @reveurdenuit have laid out the basic method and even introduced CloudMounter as an alternative, let me toss in a slightly different angle here.
First off, if you’re just moving one or two videos into Drive, the default method—log in, hit ‘New,’ choose ‘File Upload,’ and wait—is fine. But let’s not act like it’s perfect. Google Drive has a knack for lagging with large files, especially if your internet speed isn’t stellar or you’re juggling multiple uploads. Trust me, no one wants to sit there watching that upload bar inch along like it’s on dial-up.
Now, @mikeappsreviewer recommended CloudMounter, which is great for reducing the whole browser hassle. Instead of flipping between tabs or even opening your browser at all, it integrates Drive as a virtual disk on your computer. Just drag and drop files like they’re sitting in your local folder. Here’s why that’s actually super useful:
Pros of CloudMounter:
- It simplifies multitasking—no hunting for that specific tab where Drive is open.
- Offline syncing is a game-changer (upload when your connection stabilizes).
- It encrypts your data, which, honestly, should already be a default with cloud apps but isn’t.
Cons:
- Paid subscription. If you’re all about free tools, it might sting a little.
- It’s yet another app to install, which could clutter your workflow if you already use tools like Google Backup and Sync or Dropbox.
That said, why choose? For casual uploads, stick with Google Drive’s built-in uploader. For frequent or heavy file transfers, CloudMounter genuinely streamlines the process. That ‘mounted drive like a local folder’ thing is a win.
Now, just to briefly discuss alternatives mentioned by @reveurdenuit and others—they’re solid but lean toward traditional steps. If you’d rather avoid learning curves altogether, those options are solid but might feel like manual labor after you’ve seen what tools like CloudMounter can automate.
My advice? Test both pathways for yourself. If you’re managing videos as passion projects or one-off uploads, the default method likely has you covered. If storage is core to your workflow (hi, heavy-duty content creators), combining Google Drive with CloudMounter might save hours of frustration. Choose smart, because those upload bars don’t move any faster when you stare at them.
Lastly, if you’re in Wi-Fi limbo, always pause and upload from a solid connection—no fancy app can fix bad internet.