I found an old Mac hard drive that may have important photos, documents, and backups on it, but I’m not sure how to access it safely. I need help figuring out the best way to recover the data without damaging the drive or losing files.
First thing: stop using that drive as much as you can.
Deleted files are not always gone right away. On macOS, deleting something or formatting a drive can just mark that space as free. The old data may still be sitting there until the system writes new data over it. That is why normal use, downloads, app installs, copying files, and even background activity can make recovery harder.
If the missing files were on an external drive, unplug it for now. If they were on the Mac’s internal drive, keep use to the bare minimum.
Check the obvious places first
Start with the regular Trash. If the files were on an external drive, also check the drive’s hidden Trash folder:
- Connect the external drive and open it in Finder.
- Press Shift + Command + Period to show hidden files.
- Look for a folder named .Trashes.
- Open it and see if your files are there.
- If you find anything, right-click it and choose “Put Back.”
Try Time Machine before scanning
If Time Machine was turned on before the files disappeared, use that next. Open Time Machine from the menu bar, go back to a date when the files still existed, select what you need, and click “Restore.”
That is usually cleaner than running recovery software, assuming the backup is available.
If there is no backup, use recovery software carefully
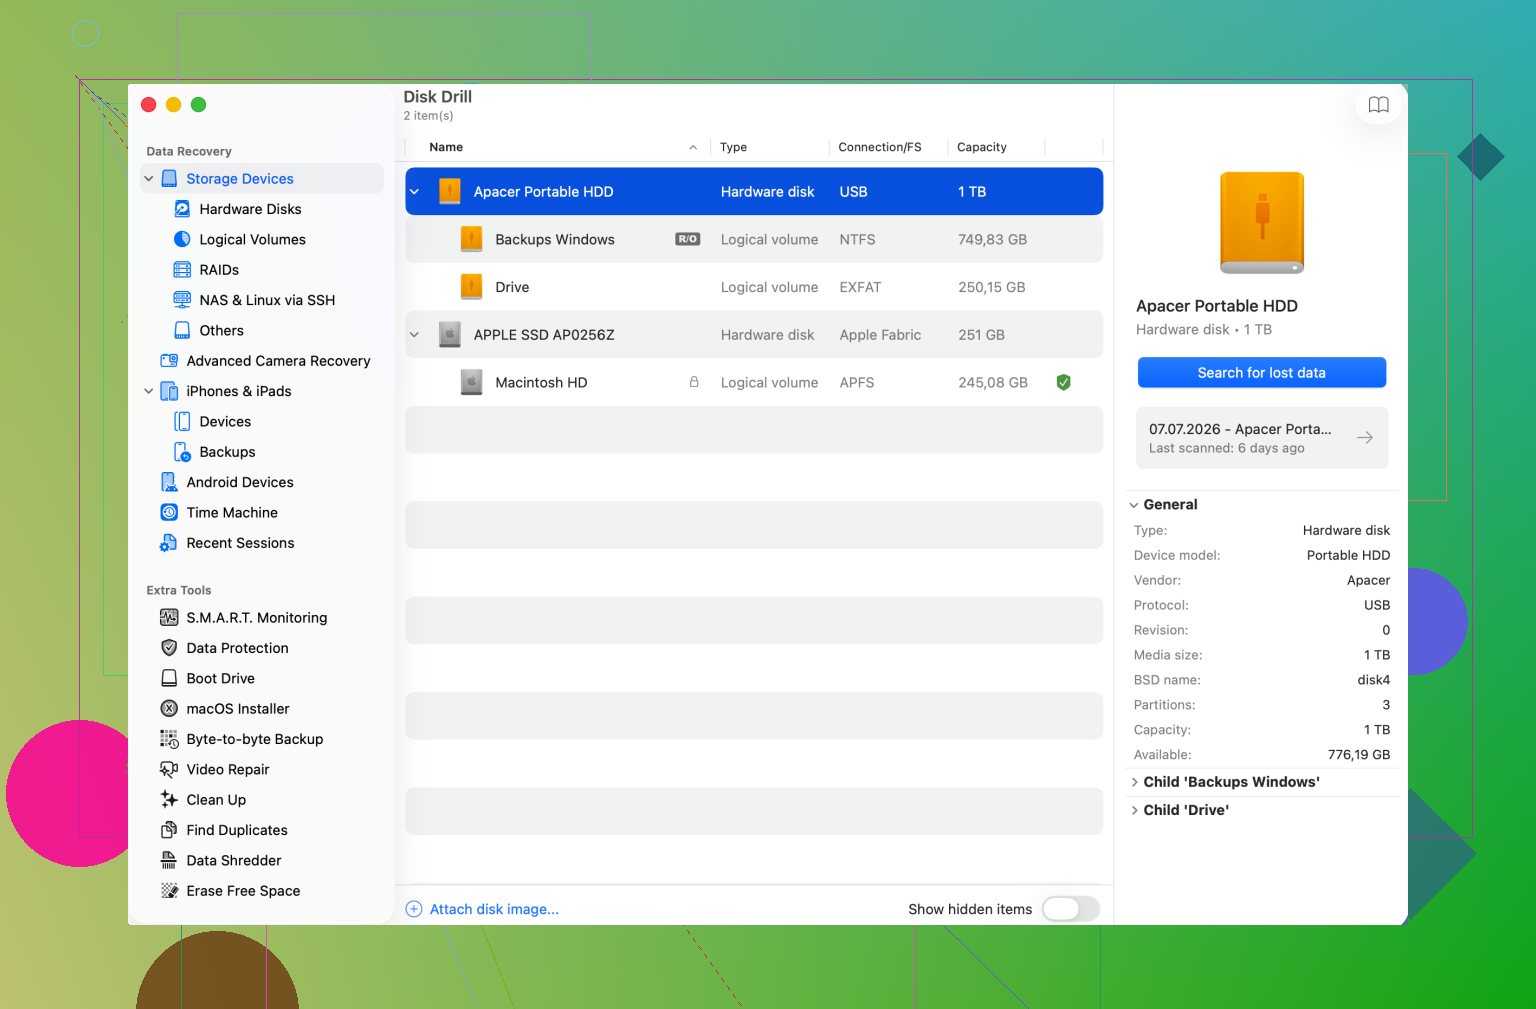
If the Trash is empty and Time Machine is not an option, recovery software is often the next reasonable step. Disk Drill is one example that can scan Mac file systems like APFS and HFS+. It can look for recoverable file records and also identify files by their internal signatures when names or folders are damaged.
Do not install recovery software onto the same drive you are trying to recover from. Install it somewhere else, and save recovered files to a separate drive too. Writing recovered files back to the problem drive can overwrite the data you are trying to get back.
If the drive seems unstable, image it first
If the drive is freezing, running very slowly, disappearing from Finder, or disconnecting on its own, avoid scanning it over and over. Make a byte-for-byte disk image first if you can, then scan the image instead of the physical drive.
That gives you a fixed copy of the drive’s current state and puts less stress on hardware that may already be failing.
Stop immediately if the drive is making bad noises
Clicking, grinding, repeated spin-up sounds, or strange whirring usually points to a physical problem. In that case, do not keep running recovery apps. Disconnect the device and talk to a professional data-recovery lab. Software cannot fix mechanical damage, and continuing to power the drive can make things worse.
Once you get through this, set up backups so you are not stuck in the same spot again. Time Machine is good for a local backup, and a cloud backup gives you an off-site copy.
For now, keep it simple: stop using the affected drive, check Trash and Time Machine, make an image if the drive is acting weird, and recover anything found to a different device.
16 Likes
Figure out what kind of drive it is before plugging it into random adapters. Old Mac drives might be SATA, IDE/PATA, or pulled from a Mac that used a weird connector, and using the wrong cheap dock can make troubleshooting messier than it needs to be. If macOS pops up a message saying the disk is unreadable and offers to initialize it, cancel that. Initializing is not a harmless “mount” button. After that, I’d check Disk Utility only to see whether the drive appears at all, not to repair it right away. If it shows up but won’t mount, then imaging or recovery software like Disk Drill makes sense. If it does not show up reliably, that is more of a hardware problem than a file-recovery problem.
Be prepared for this to be slow, and there is a real chance the drive is fine but the Mac you plug it into still won’t show anything useful right away.
A detail I haven’t seen mentioned yet is power. If it is a 3.5 inch desktop hard drive, a little USB cable or cheap SATA-to-USB dongle may not be enough. Those drives usually need a powered dock or enclosure with its own power brick. If it is a 2.5 inch laptop drive, USB power is more likely to work, but bad cables and weak hubs can still make the drive appear flaky when the adapter is the actual problem.
I’d be careful about assuming “unreadable” means “lost.” Older Mac disks can be HFS+, Apple Partition Map, or have permissions from an old user account. A modern Mac might mount it but hide files behind permissions, or ask for a password if FileVault was used. If you get the drive mounted, copy the most important folders first: Users, Pictures, Documents, Desktop, and any backup folders. Don’t start by trying to reorganize the drive or fix folder permissions on the original.
Disk Drill or similar tools are fine if the file system is damaged, but I would treat that as the second pass, not the first move. First pass is: correct adapter, stable power, see if Disk Utility detects the physical disk, then copy normal files to another drive if it mounts. If it keeps vanishing, clicking, or slowing the whole machine down, stop there. That is the point where repeated attempts can turn a recoverable old drive into a worse job.
Expect the first few hours to be identifying the drive and making a safe copy, not browsing through old vacation photos right away. If the data matters, treat the original drive like evidence: do the least possible to it, and do your experimenting on a clone or disk image.
The missing step I’d focus on is having a destination drive ready before you start. It should be at least as large as the old drive, preferably larger, and it should not be the same drive you are recovering from. A lot of people get the old disk to mount, get excited, then realize they have nowhere clean to copy 400 GB of stuff. That leads to unplugging, retrying, dragging folders in pieces, and generally giving an old drive more chances to fail.
If it mounts normally, I would copy the big valuable containers first rather than picking through them. For an old Mac, that may mean the whole user folder, not just Documents. Copy the entire Photos Library or iPhoto Library file if you see one. Do not right-click “Show Package Contents” and start dragging random folders out unless you have no other choice, because albums, edits, dates, faces, and metadata may be stored inside the library structure. Same idea with old Mail folders, Music/iTunes libraries, and Time Machine backup folders.
I agree with the warnings above about not running repairs too early. “First Aid” can be useful on a normal working disk, but on a questionable recovery disk it can change things before you have a copy. If Disk Utility can see the physical drive but Finder cannot mount it, that is when I’d rather image it or use recovery software against the image. Disk Drill can be useful there, but I would not make it the first thing hammering away at a drive that is clicking, dropping offline, or taking minutes to respond.
Small annoyance that catches people: old Mac drives may have files your current account is not allowed to open, even though the files are fine. If you get “permission denied” or folders with red minus signs, don’t assume the copy failed. Copy the data first if you can, then fix ownership or permissions on the copy. The original should stay boring and untouched as much as possible.