My drive suddenly shows “Not accessible. The parameter is incorrect” when I try to open it in Windows. I need to recover access without formatting because important files are still on it. What are the safest fixes to try first?
If Windows is throwing 'The parameter is incorrect' on an external drive, I wouldn’t jump straight to formatting it or running repairs. I had this happen on an external HDD with years of photos on it, and yeah, it feels awful. But that message often means Windows is dealing with file system damage, partition trouble, or some other logical issue. It does not automatically mean the files are gone.
The safest order is: copy or recover the data first, then try to fix the drive. CHKDSK, formatting, and repair tools all write changes to the disk. Sometimes that’s fine. Sometimes it makes recovery harder, especially if the drive is already failing.
Start with the simple stuff before doing anything heavy:
- Try a different USB cable.
- Use another USB 3.0 port.
- Connect the drive to a different computer.
- Check Disk Management and see if the drive shows up with the correct size.
I’d also check the drive health before scanning it hard. CrystalDiskInfo works for this, and Disk Drill has a built-in S.M.A.R.T. monitor too. If you see warnings about pending sectors, reallocated sectors, or overall health, treat the drive like it may be dying. Don’t keep poking at it more than necessary.
If the drive still appears in Disk Management, even when File Explorer refuses to open it, recovery may still be possible. For that, I’d use Disk Drill. It can work with damaged NTFS, exFAT, FAT32, RAW partitions, and drives that Windows won’t open normally.
The basic process would be:
- Install Disk Drill on your internal drive, not on the problem drive.
- If the drive seems unstable, make a Byte-to-byte Backup first. That gives you an exact disk image, so you can scan the image instead of stressing the original drive.
- Run a Universal Scan on the image, or directly on the drive if it seems stable.
- Preview the files before recovering them.
- Save recovered files to a different storage device, never back onto the damaged drive.
One useful thing is that the Windows version lets you recover up to 100 MB for free. That’s usually enough to confirm whether your files are actually intact before paying for anything.
Once the important stuff is safely copied somewhere else, then I’d think about repairing the drive.
- If the file system is still recognizable, try CHKDSK with
chkdsk X: /r, replacingX:with the correct drive letter. - If the partition shows as RAW or CHKDSK won’t run, TestDisk is worth trying. It’s very good at fixing damaged partition structures, but the interface is not exactly beginner-friendly.
- If recovery is already done and the data is safe, a quick format can often clear logical corruption by creating a fresh file system.
There are a few odd Windows-side causes too. If the same error starts happening with several drives, or you see it during other Windows tasks, check the decimal separator in regional settings. Running SFC and DISM can also help rule out damaged Windows system files. Those are not the usual fix, but they have worked for some people.
I’d stop trying DIY fixes if the drive:
- clicks or beeps,
- disconnects over and over,
- vanishes from Disk Management,
- shows serious SMART errors,
- or keeps dropping offline while Disk Drill is scanning.
That points more toward hardware failure. At that stage, repeatedly powering it on can make the situation worse. A professional recovery lab is the safer move if the files really matter.
Good labs usually evaluate the drive first and give you a quote before doing the actual recovery. Many also work on a 'no data, no fee' basis, meaning you typically don’t pay for the recovery itself if they can’t get anything back. Pricing depends on what’s wrong, but logical recoveries often start around $300 to $600 USD. Drives that need clean-room work or hardware repair are more often in the $700 to $2,000+ USD range.
And after dealing with this once, I’d really recommend keeping at least two copies of anything important. External drives are fine for backups, but they should not be the only place your photos, documents, or other irreplaceable files live. A second external drive or a cloud backup can save you from this exact panic later.
13 Likes
Don’t click “Initialize,” “Format,” or “Scan and fix” if Windows offers it, because those prompts are about making the drive usable to Windows, not preserving your files.
A cheap quick check is to boot a Linux live USB and see if the drive mounts read-only there. If it does, copy the files off first; if it doesn’t, stop and use recovery software or image the drive before trying repairs.
A hidden trap with some external drives is the USB enclosure itself. If this is a factory-made external drive, don’t immediately crack it open and plug the bare drive into a SATA dock unless you have to. Some enclosures do sector translation, and a few handle encryption in the bridge board. Moving the disk can make a readable file system look like nonsense even if the drive is not worse.
I’m with the others on not formatting it, but I’d be more conservative with CHKDSK than some guides suggest. If you have not copied the files yet, don’t run it. If you have copied or imaged the drive, I’d try chkdsk X: /f before /r. The /r scan touches the whole surface and can take forever on a weak drive. That is fine for a healthy disk you’re repairing, less fine for a disk you’re trying to rescue.
For a no-format path, I’d do this: confirm it shows the correct size in Disk Management, check SMART if it’s visible, then make an image/clone to another disk if the files matter. Work from the image when possible. If recovery software can see the folder tree, recover to a different drive and ignore the urge to “fix” the original first. After the data is safe, then you can try CHKDSK, TestDisk, or just repartition and format it. If Disk Management shows 0 bytes, wrong capacity, constant disconnects, or the drive makes noise, stop treating it like a Windows problem. That’s when more scans usually just waste the remaining life of the drive.
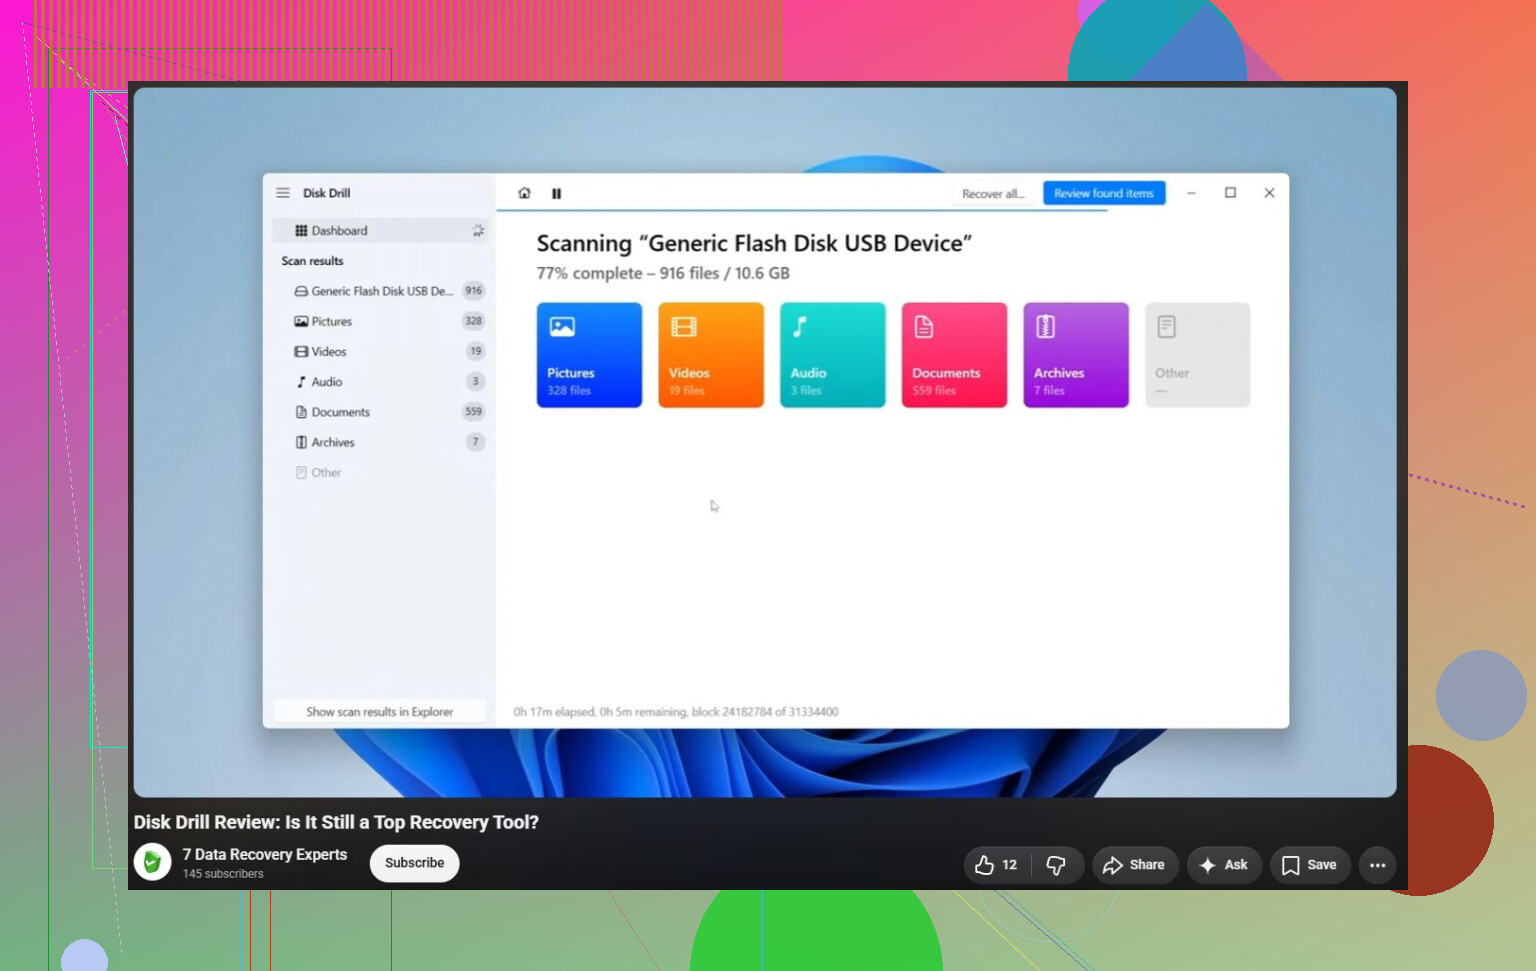
Don’t convert, initialize, or change the partition style in Disk Management just because Windows offers buttons there. If the drive still shows the right capacity, treat it as readable-but-damaged: image it first, then scan the image with recovery software like Disk Drill instead of experimenting on the only copy.