My Seagate Backup Plus drive suddenly stopped showing its partition, and I can’t access the files on it. Disk Management sees the drive, but the partition looks missing or unallocated. I need help with safe Seagate Backup Plus data recovery steps before I risk losing important backups.
First thing: don’t do anything that writes to the Seagate drive. Don’t format it, initialize it, run “repair” on it, or copy anything new onto it. If the files are missing because the file system or partition got messed up, the actual data may still be sitting there. Writing to the drive is what can turn a recoverable situation into a bad one.
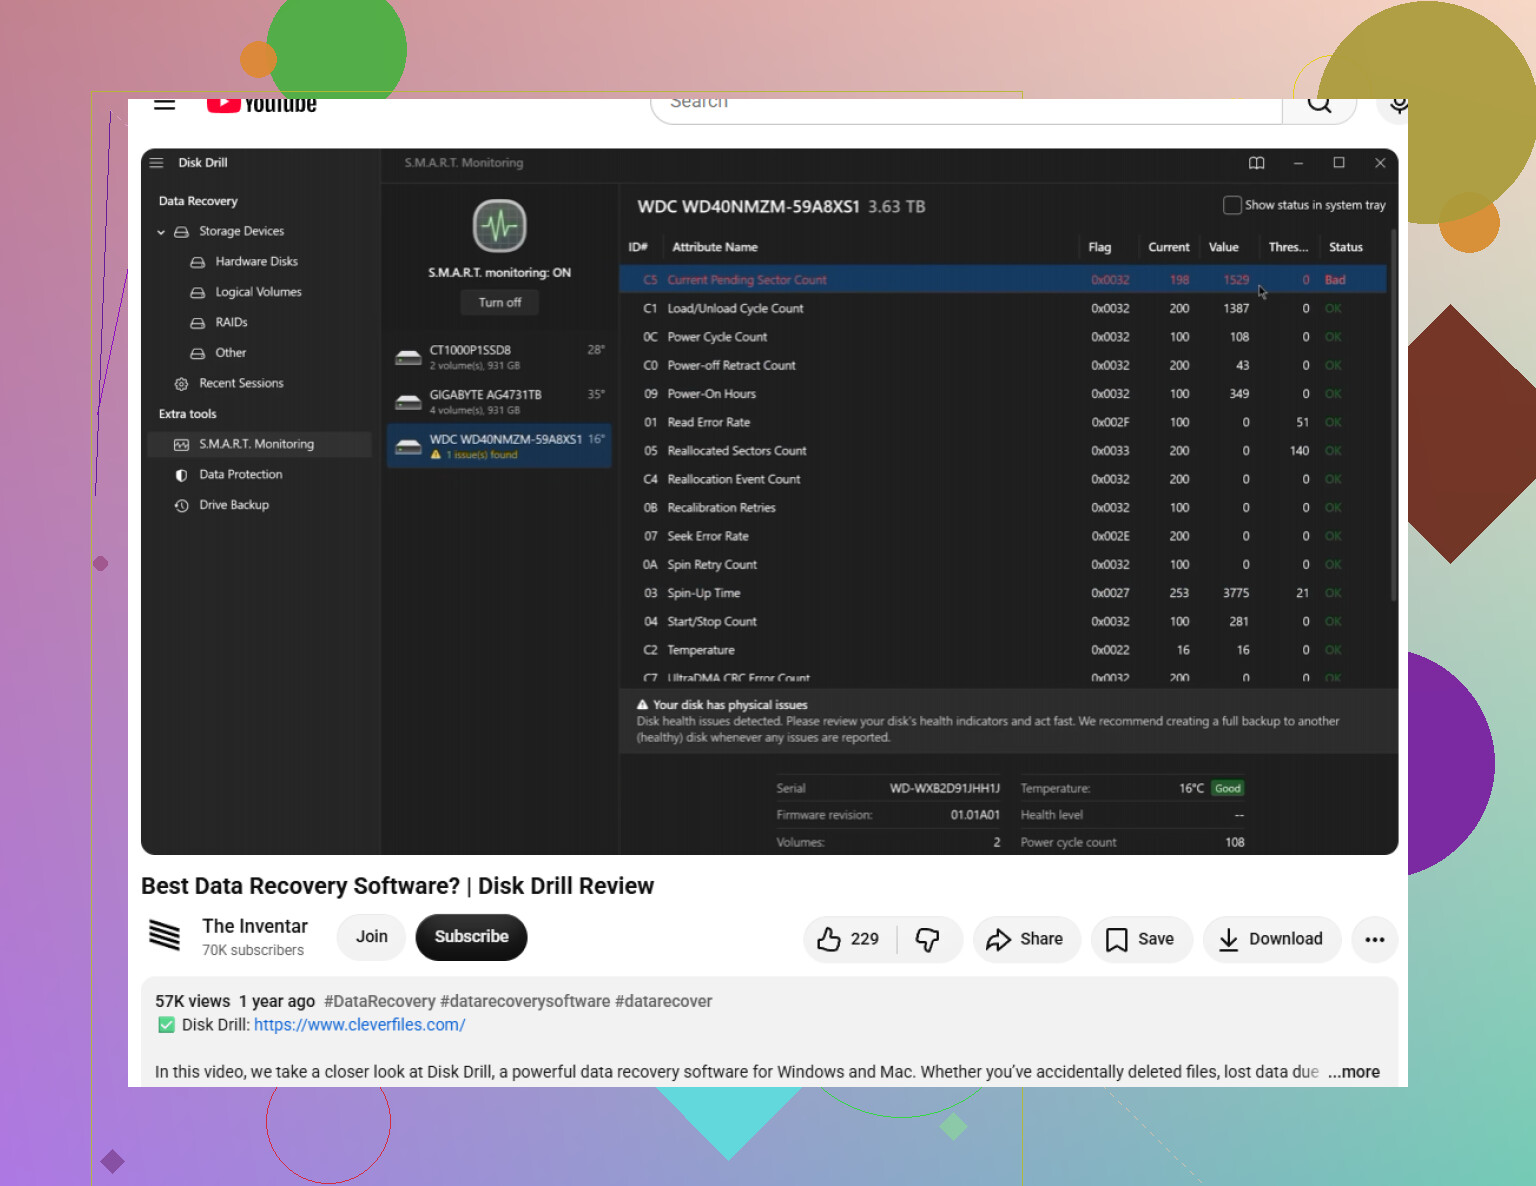
Do a quick sanity check before trying software recovery. Plug the drive in just long enough to listen to it. If it’s clicking, grinding, beeping, repeatedly spinning up and stopping, or making any sound that seems wrong, stop there. Scanning a physically failing drive can make it worse. In that case, check Seagate’s Rescue Data Recovery Services first, especially if it’s a Backup Plus model that may have included Rescue coverage for a limited time. It’s worth checking the serial number before assuming a lab recovery will cost a fortune.
If the drive sounds normal but shows up empty, asks to be formatted, appears as RAW or unreadable, or looks like it needs to be set up again, that’s often a file system or partition issue. Not great, but it can still be recoverable.
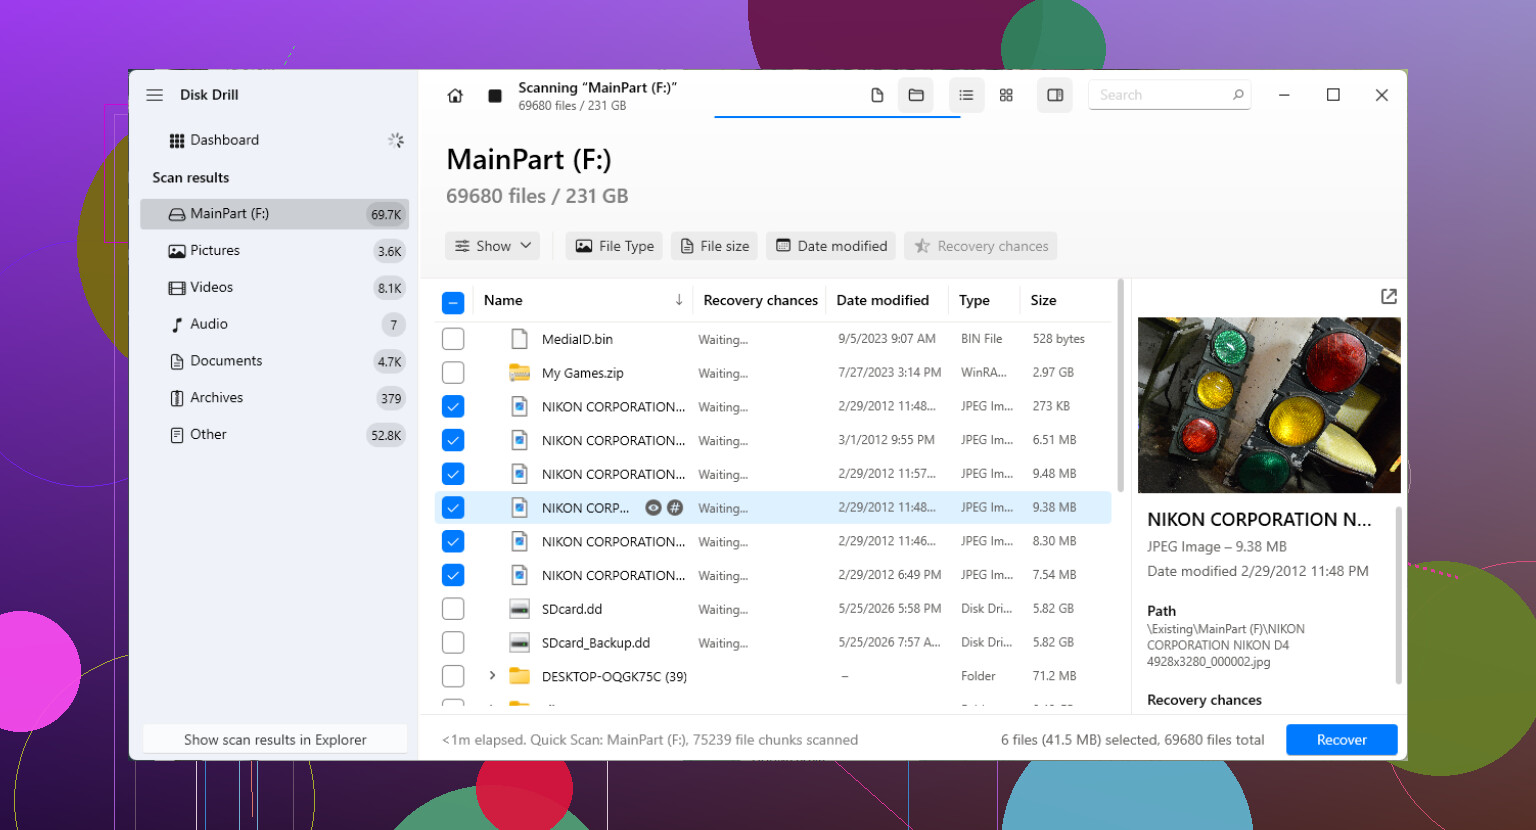
For a DIY attempt, recovery software is usually the most reasonable route. Disk Drill is one option to look at for Seagate external drives. It can scan for lost partitions, deleted files, RAW drives, unreadable volumes, and cases where the drive was unplugged without being safely ejected.
A safer way to approach it:
Install the recovery app on your computer’s internal drive, or on another separate drive. Do not install it onto the Seagate drive you’re trying to recover.
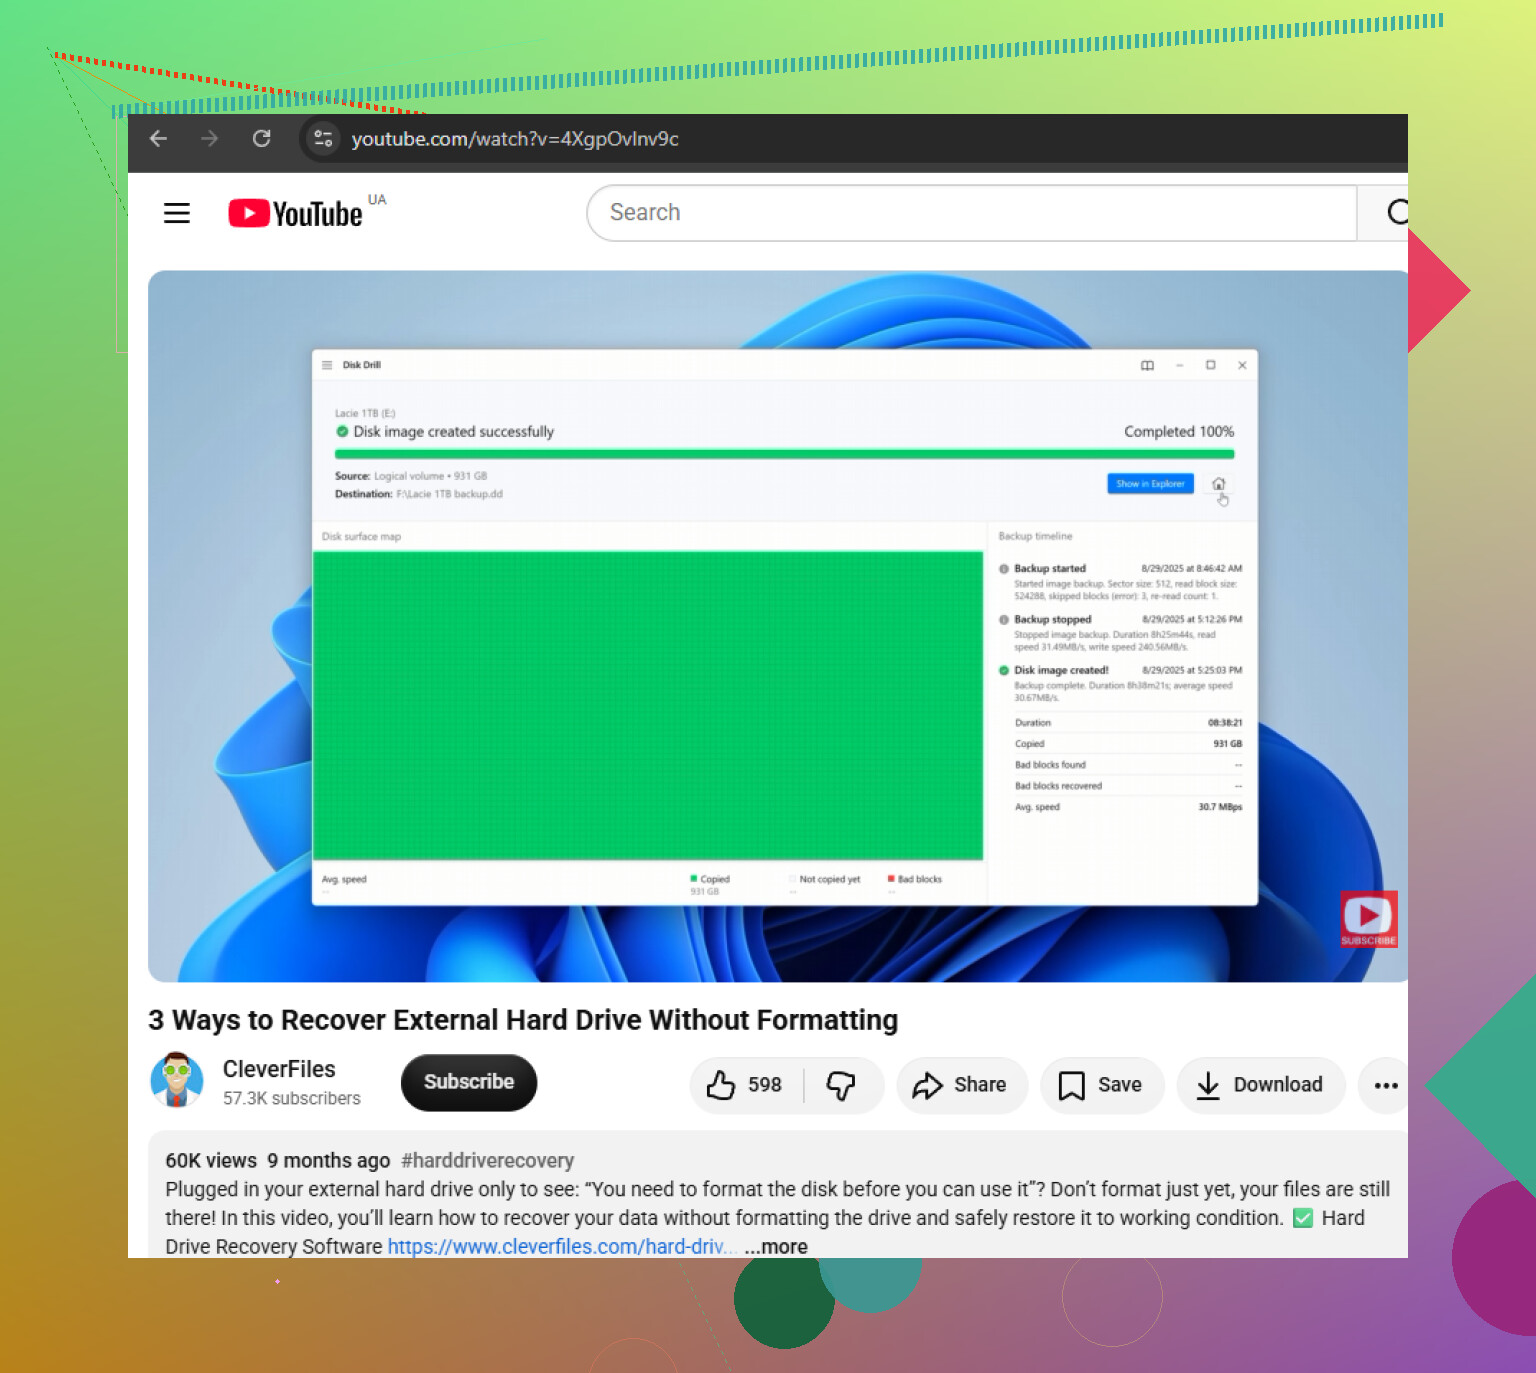
If the drive seems flaky or keeps disconnecting, make a byte-to-byte backup first. Disk Drill can create a full disk image of the Seagate drive, then you can scan that image instead of putting more stress on the original drive.
Also try the simple stuff: another USB cable, another port, or another adapter if you’re using one. Portable external drives can act dead or corrupted just because the connection is unstable.
Once the drive, or the disk image, is available, run the scan and check the results carefully. Preview the files that matter most before recovering them. If a photo, video, document, or archive previews correctly, that’s usually a good sign it can be restored.
Save recovered files somewhere else. Don’t put them back onto the same Seagate drive during recovery, because that can overwrite other data you haven’t recovered yet.
If the drive doesn’t show up in File Explorer or Finder, check whether the system can still see it at the disk level. On Windows, look in Disk Management. On macOS, check Disk Utility. On Linux, use the available disk tools. If it appears there with the correct capacity, recovery software may still be able to scan it even if the operating system can’t open it normally.
After you get the files back, don’t assume the drive is fine. Run a full test with Seagate SeaTools or another trustworthy diagnostic tool. If it fails, replace the drive. If it passes, you can reformat and reuse it, but I’d still keep another backup going forward.
Scans on large external drives can take a while, so don’t panic if it’s slow. If the drive powers on, sounds normal, and shows the correct size, there’s still a decent chance the files can be recovered.
4 Likes
Don’t try to “restore” the partition with TestDisk, chkdsk, or any partition manager until the important files are copied out somewhere else. Those tools can be useful, but if they guess wrong they may make the recovery messier, so I’d scan/read first with something like Disk Drill or another recovery app, recover to a different drive, then worry about rebuilding or reformatting the Seagate.
Don’t assume “unallocated” means the partition itself is the only problem. First check whether Disk Management shows the Seagate at the correct full capacity. If a 2 TB drive suddenly shows as 0 bytes, 32 MB, “no media,” or keeps appearing/disappearing, recovery software like Disk Drill is probably the wrong first move because the USB bridge or the drive hardware may be failing. If the size is correct and stable, then I agree with scanning it read-only and recovering files to another disk. If the size is wrong, stop messing with Windows tools and treat it as a hardware/enclosure issue instead.